How to Give Your Cooler a Spa Day
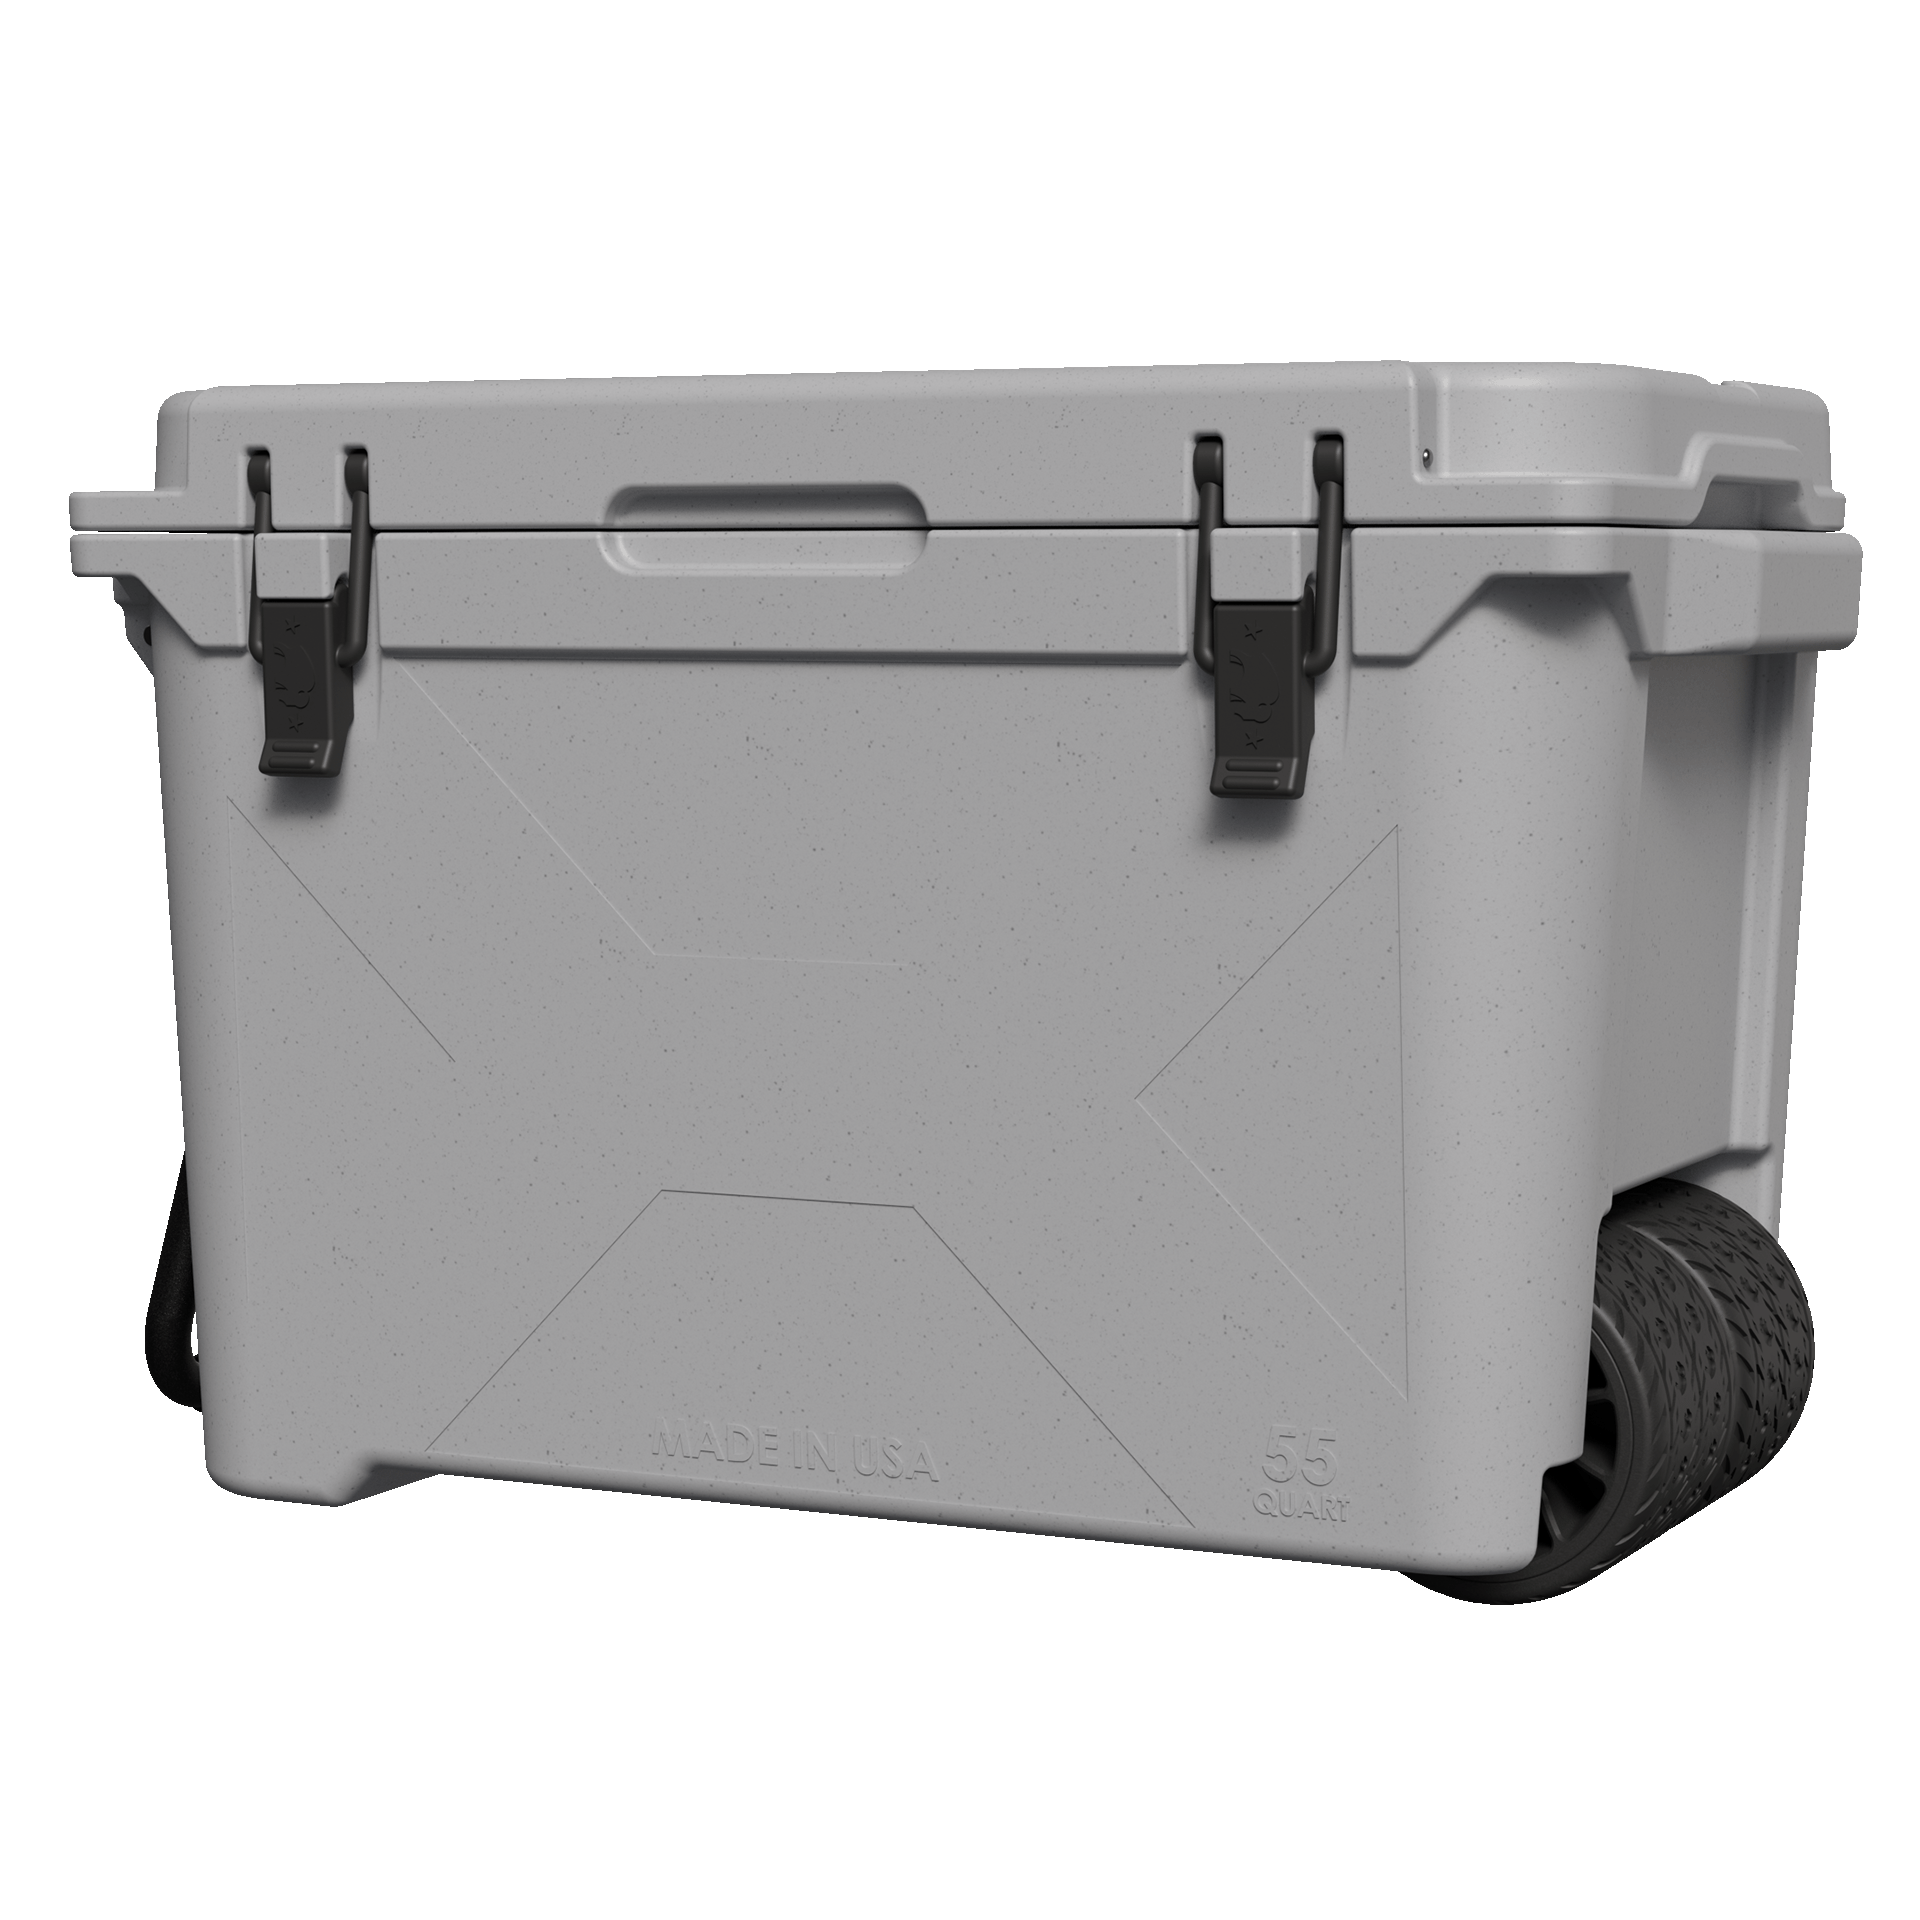
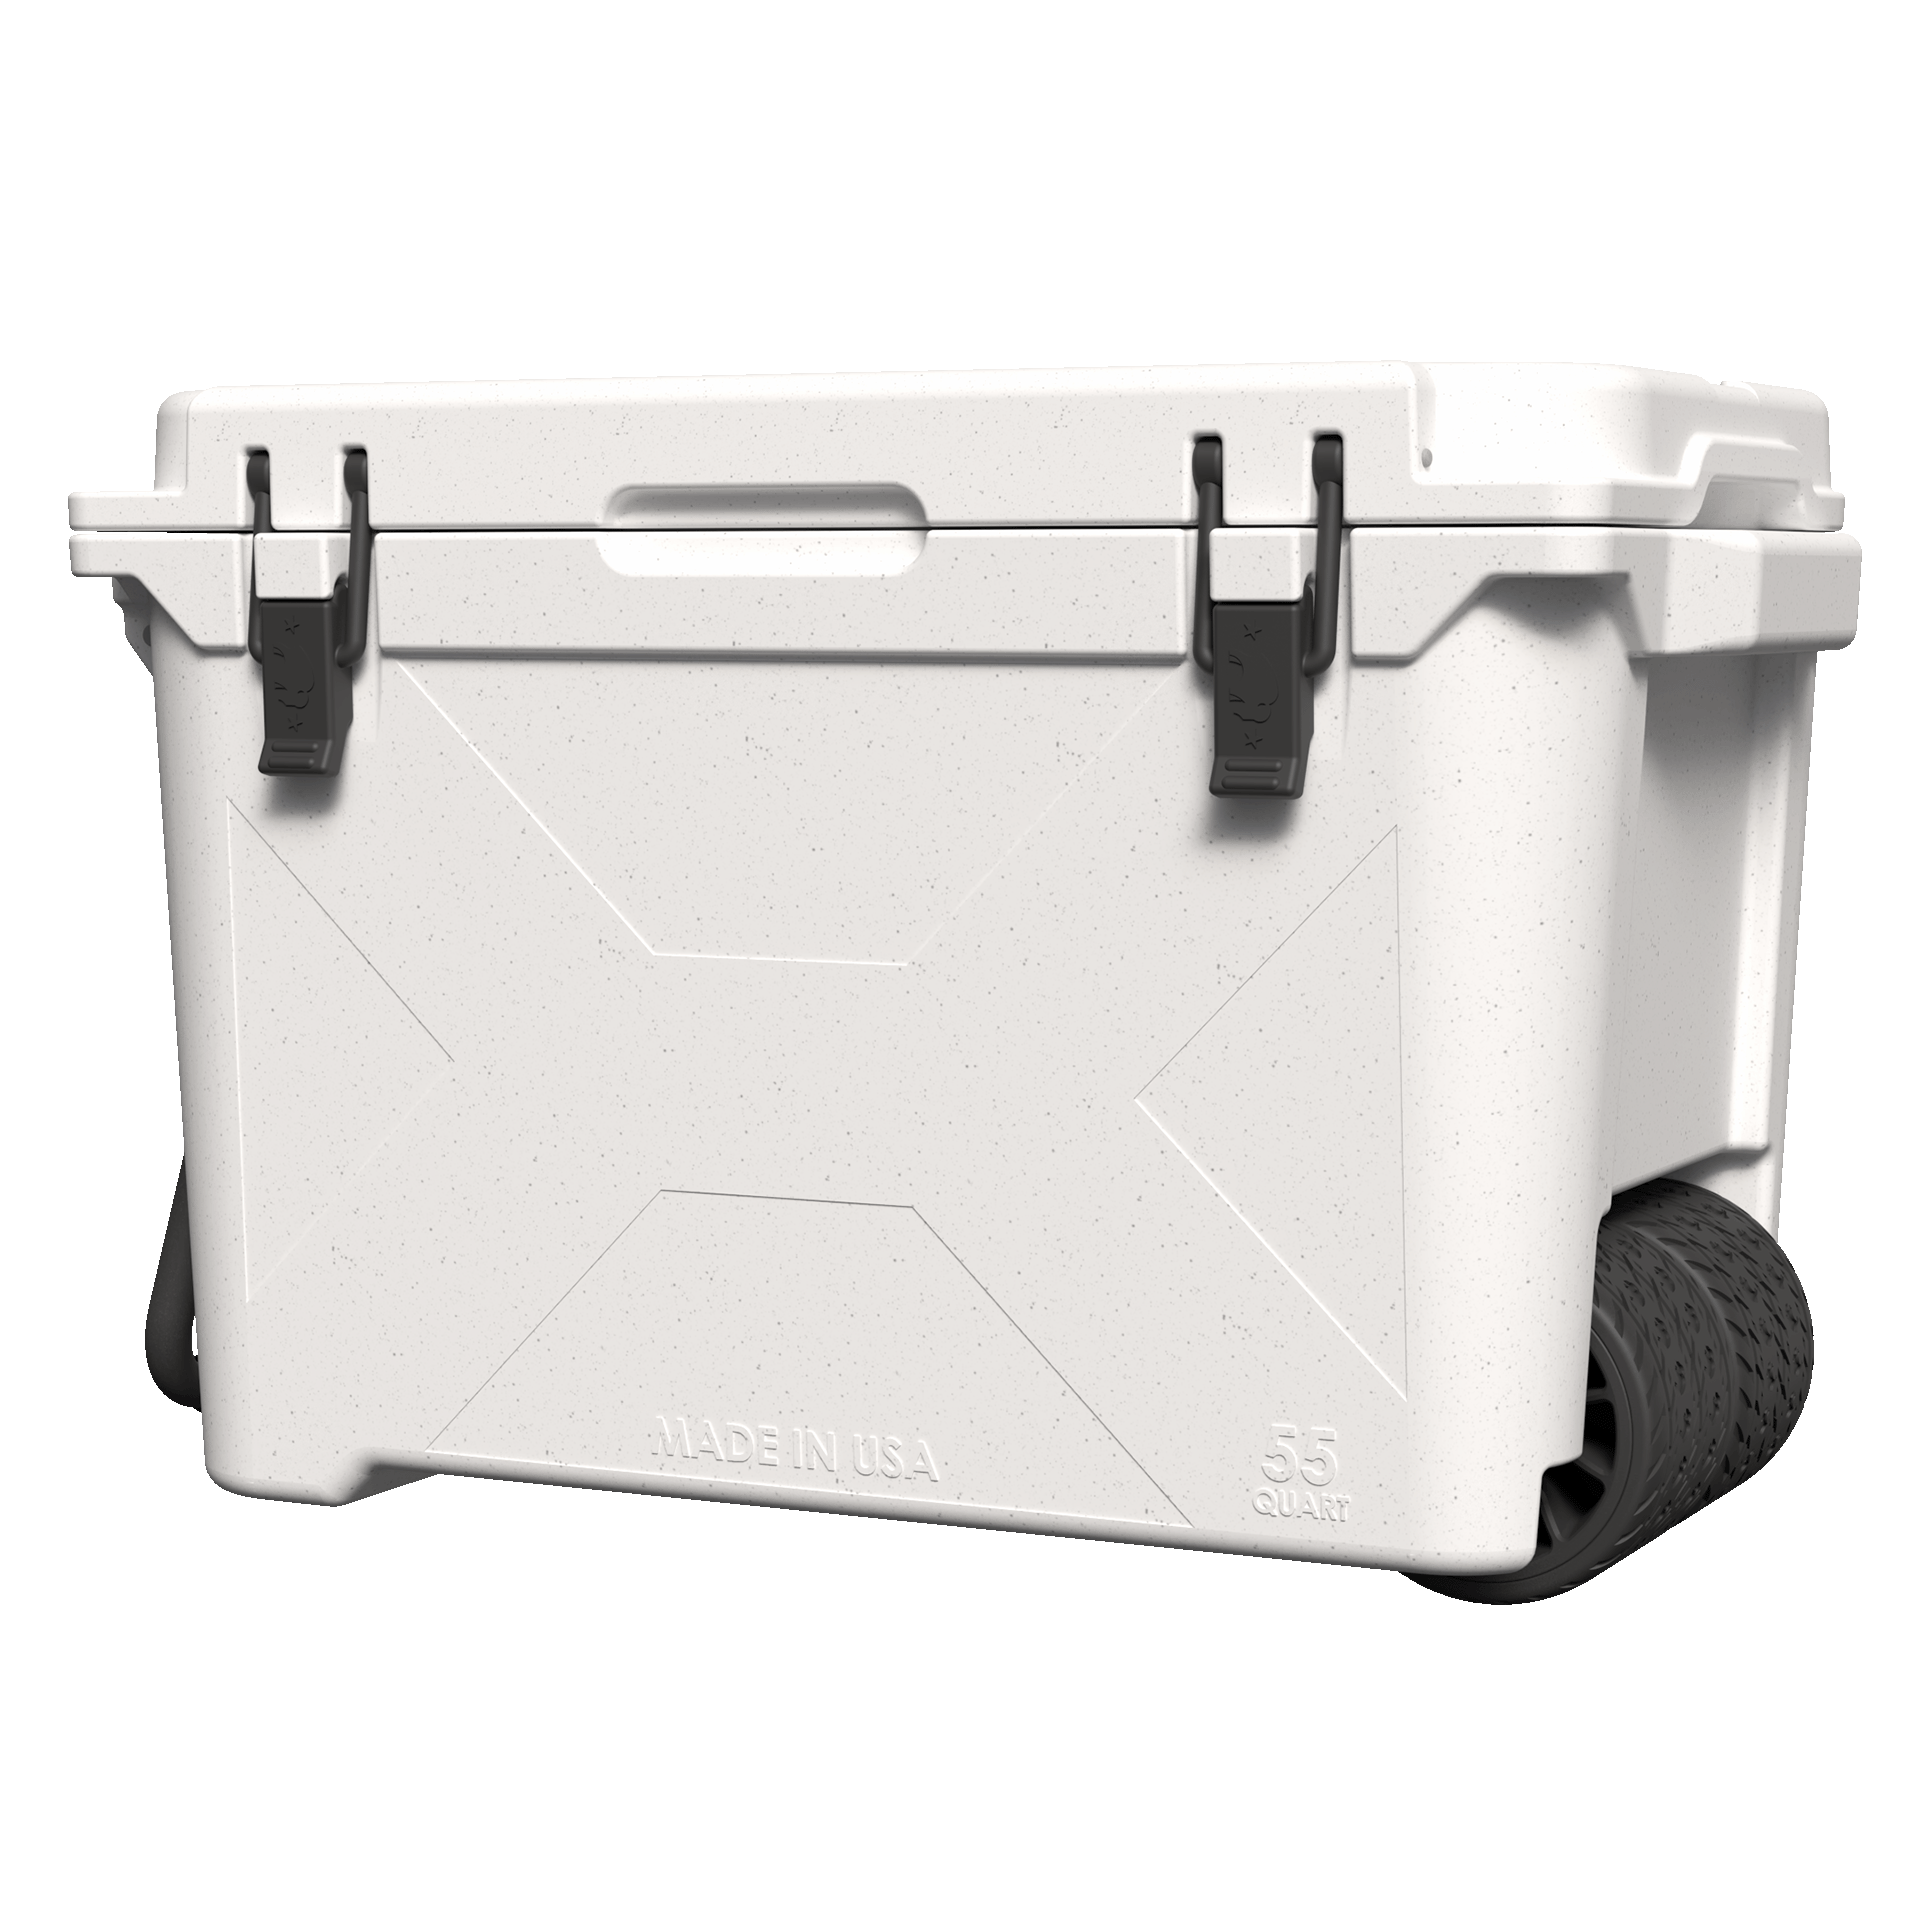
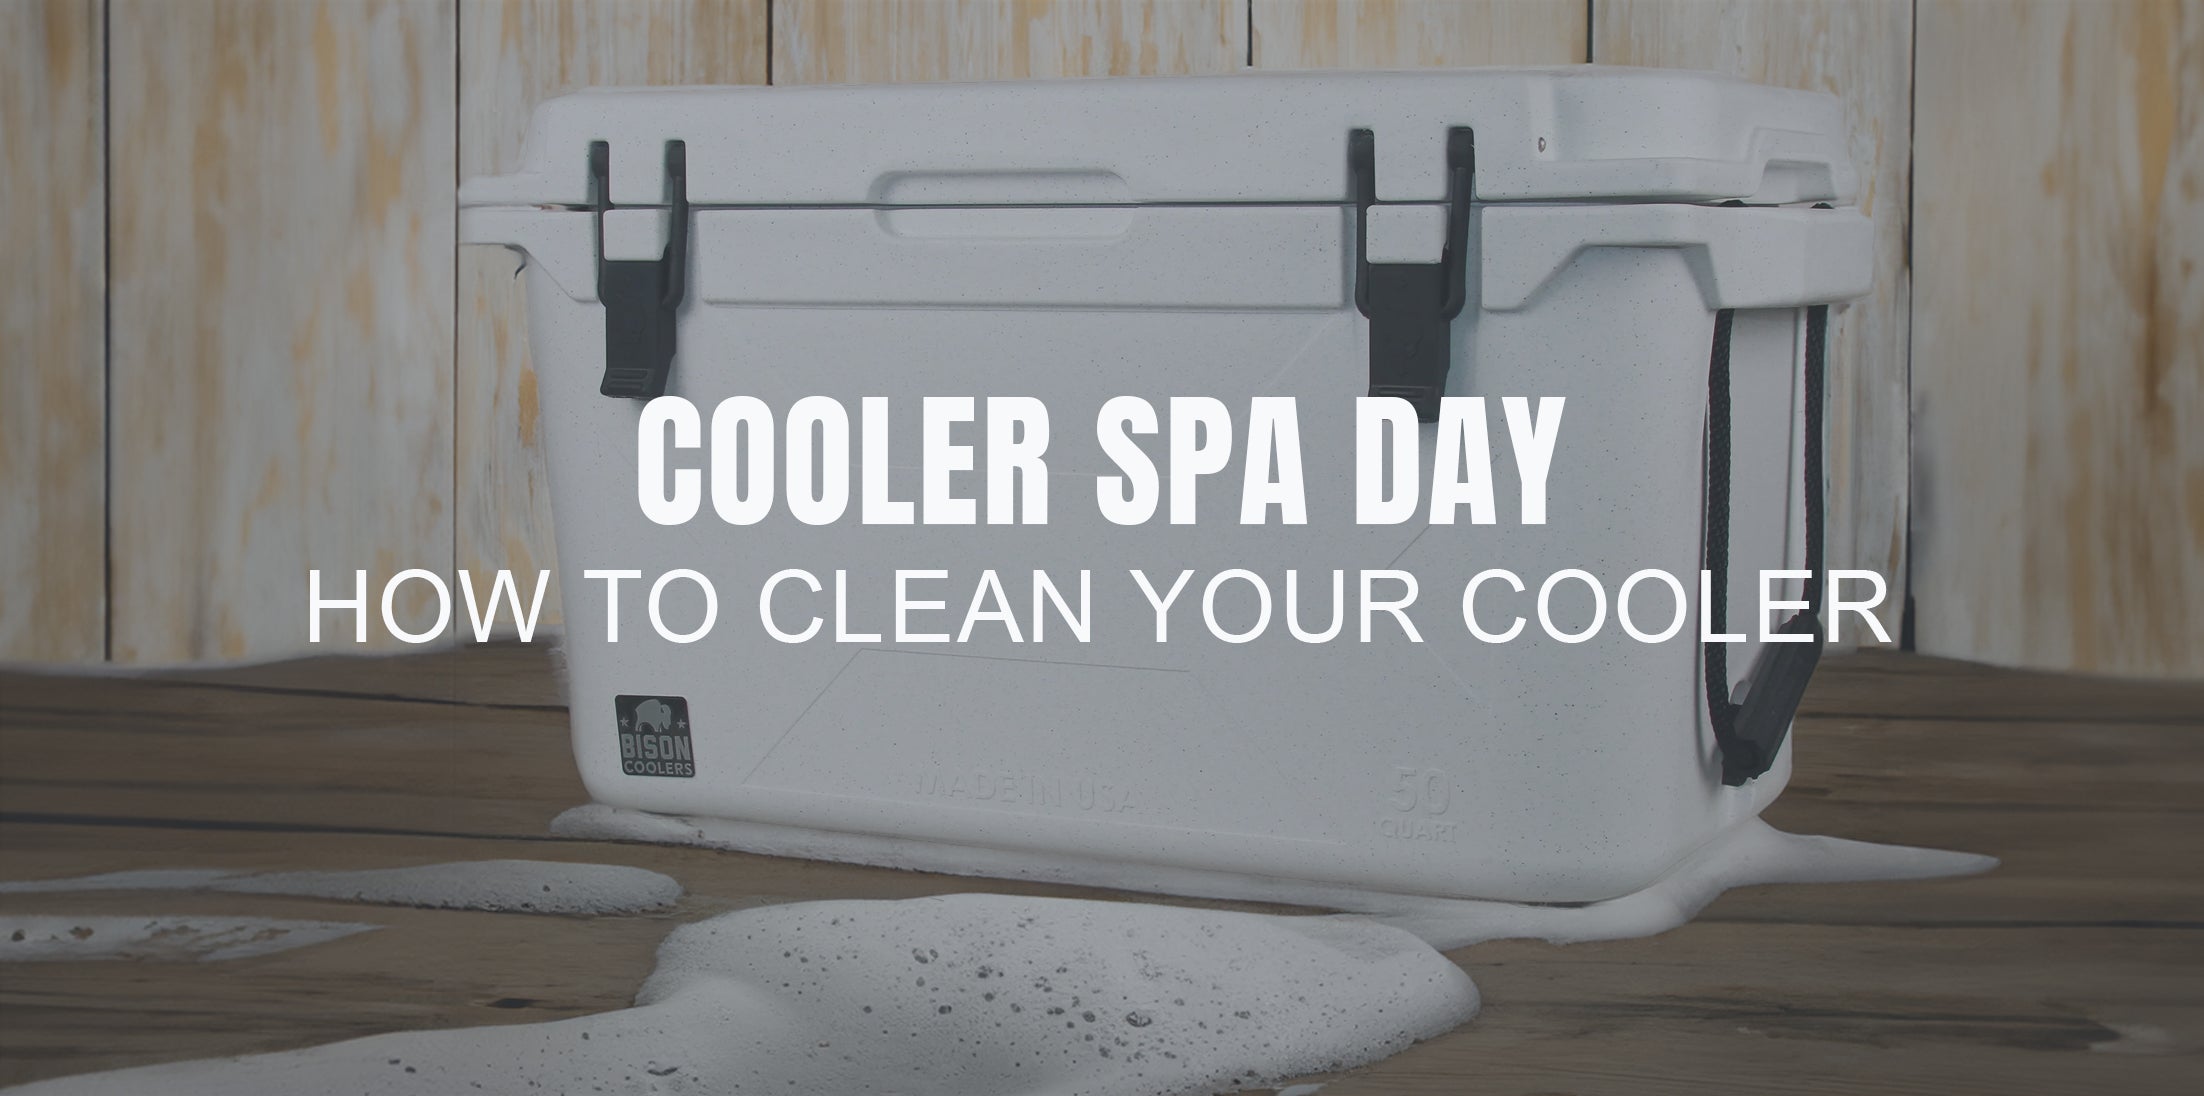
So, you've got this trusty rotomolded cooler that's been your loyal companion on countless outdoor escapades. It's been through thick and thin, and it's time to show it some love. How, you ask? By giving it a spa day, of course! In this hilarious yet informative guide, we're going to walk you through the steps to pamper your cooler and make it feel like the rockstar it is.
Materials You'll Need
Before you embark on this hilarious cooler-cleaning journey, gather the following materials:
- Mild dish soap
- Warm water
- Soft-bristle brush or sponge
- White vinegar
- Baking soda
- Towels or a clean cloth
- Rubber gloves (optional)
Step 1: The Great Emptying
Your cooler's got some baggage - leftover ice, food, and probably a stray hotdog or two. Time for a dramatic exit! Empty your cooler of all its contents and bid farewell to the scraps and surprises hiding inside.
Step 2: A Soapy Tale
Prepare for the most epic bubble bath your cooler has ever seen. Mix up a solution of mild dish soap and warm water. Think of it as your cooler's very own spa treatment. Stir it up like you're crafting a magical potion (cue your best wizard impression).
Step 3: Get Scrubbin'!
Take your soft-bristle brush or sponge, and with all the gusto of a pirate scrubbing the deck, clean the interior of your cooler. Chase away stains and odors like they're the villains in your cooler's life story. If you find any particularly stubborn foes (read: stains), unleash the power of a baking soda paste and let it sit for a few minutes before resuming your epic battle.
Step 4: A Refreshing Rinse
Now, here comes the most refreshing part – rinse your cooler like you're competing in a water gun fight! Use clean water to wash away all the soap and soda residue. Victory tastes sweet, but cooler residue does not.
Step 5: The Rubber Gasket Rubdown
Show some love to the gasket, the unsung hero of your cooler. Give it a gentle massage with a damp cloth, and reassure it that it's doing a great job keeping things sealed tight. No harsh chemicals, please; we're going for a spa vibe here!
Step 6: De-stinkify (if necessary)
If your cooler is holding a grudge in the form of lingering odors, it's time to teach it some manners. Mix up a vinegar and water solution, and give your cooler's interior a good wipe-down. Let it air dry to make sure it gets the hint that stinkiness is not welcome.
Step 7: The Exterior Elegance
Don't forget about the cooler's exterior! Give it a good wipe-down with your soapy solution and a cloth or sponge. Remember, coolers have feelings too, and they love a good spa treatment from head to toe.
Step 8: The Grand Finale
As the curtains close on this comedy of cooler cleanliness, let your cooler bask in the spotlight of the great outdoors to air dry. Make sure it's bone dry inside and out; we don't want any surprise moldy guests showing up uninvited.
Conclusion
Congratulations! You've just given your rotomolded cooler the spa day of its dreams. It's cleaner, fresher, and ready to take on new adventures with you. Remember, laughter is the best therapy, even for inanimate objects like coolers. So, go ahead and share your spa day escapades with your friends and turn cooler cleaning into a legendary tale of humor and hygiene!

