

How to Properly Prep a Rotomolded Cooler
Are you ready to make the most of your Bison Cooler? Whether you’re heading out for a camping trip, a beach day, or a backyard barbecue, prepping your rotomolded cooler is essential for keeping your drinks and snacks ice-cold. Follow this guide for expert tips on how to prep a rotomolded cooler and maximize ice retention.
Why Choose a Rotomolded Cooler?
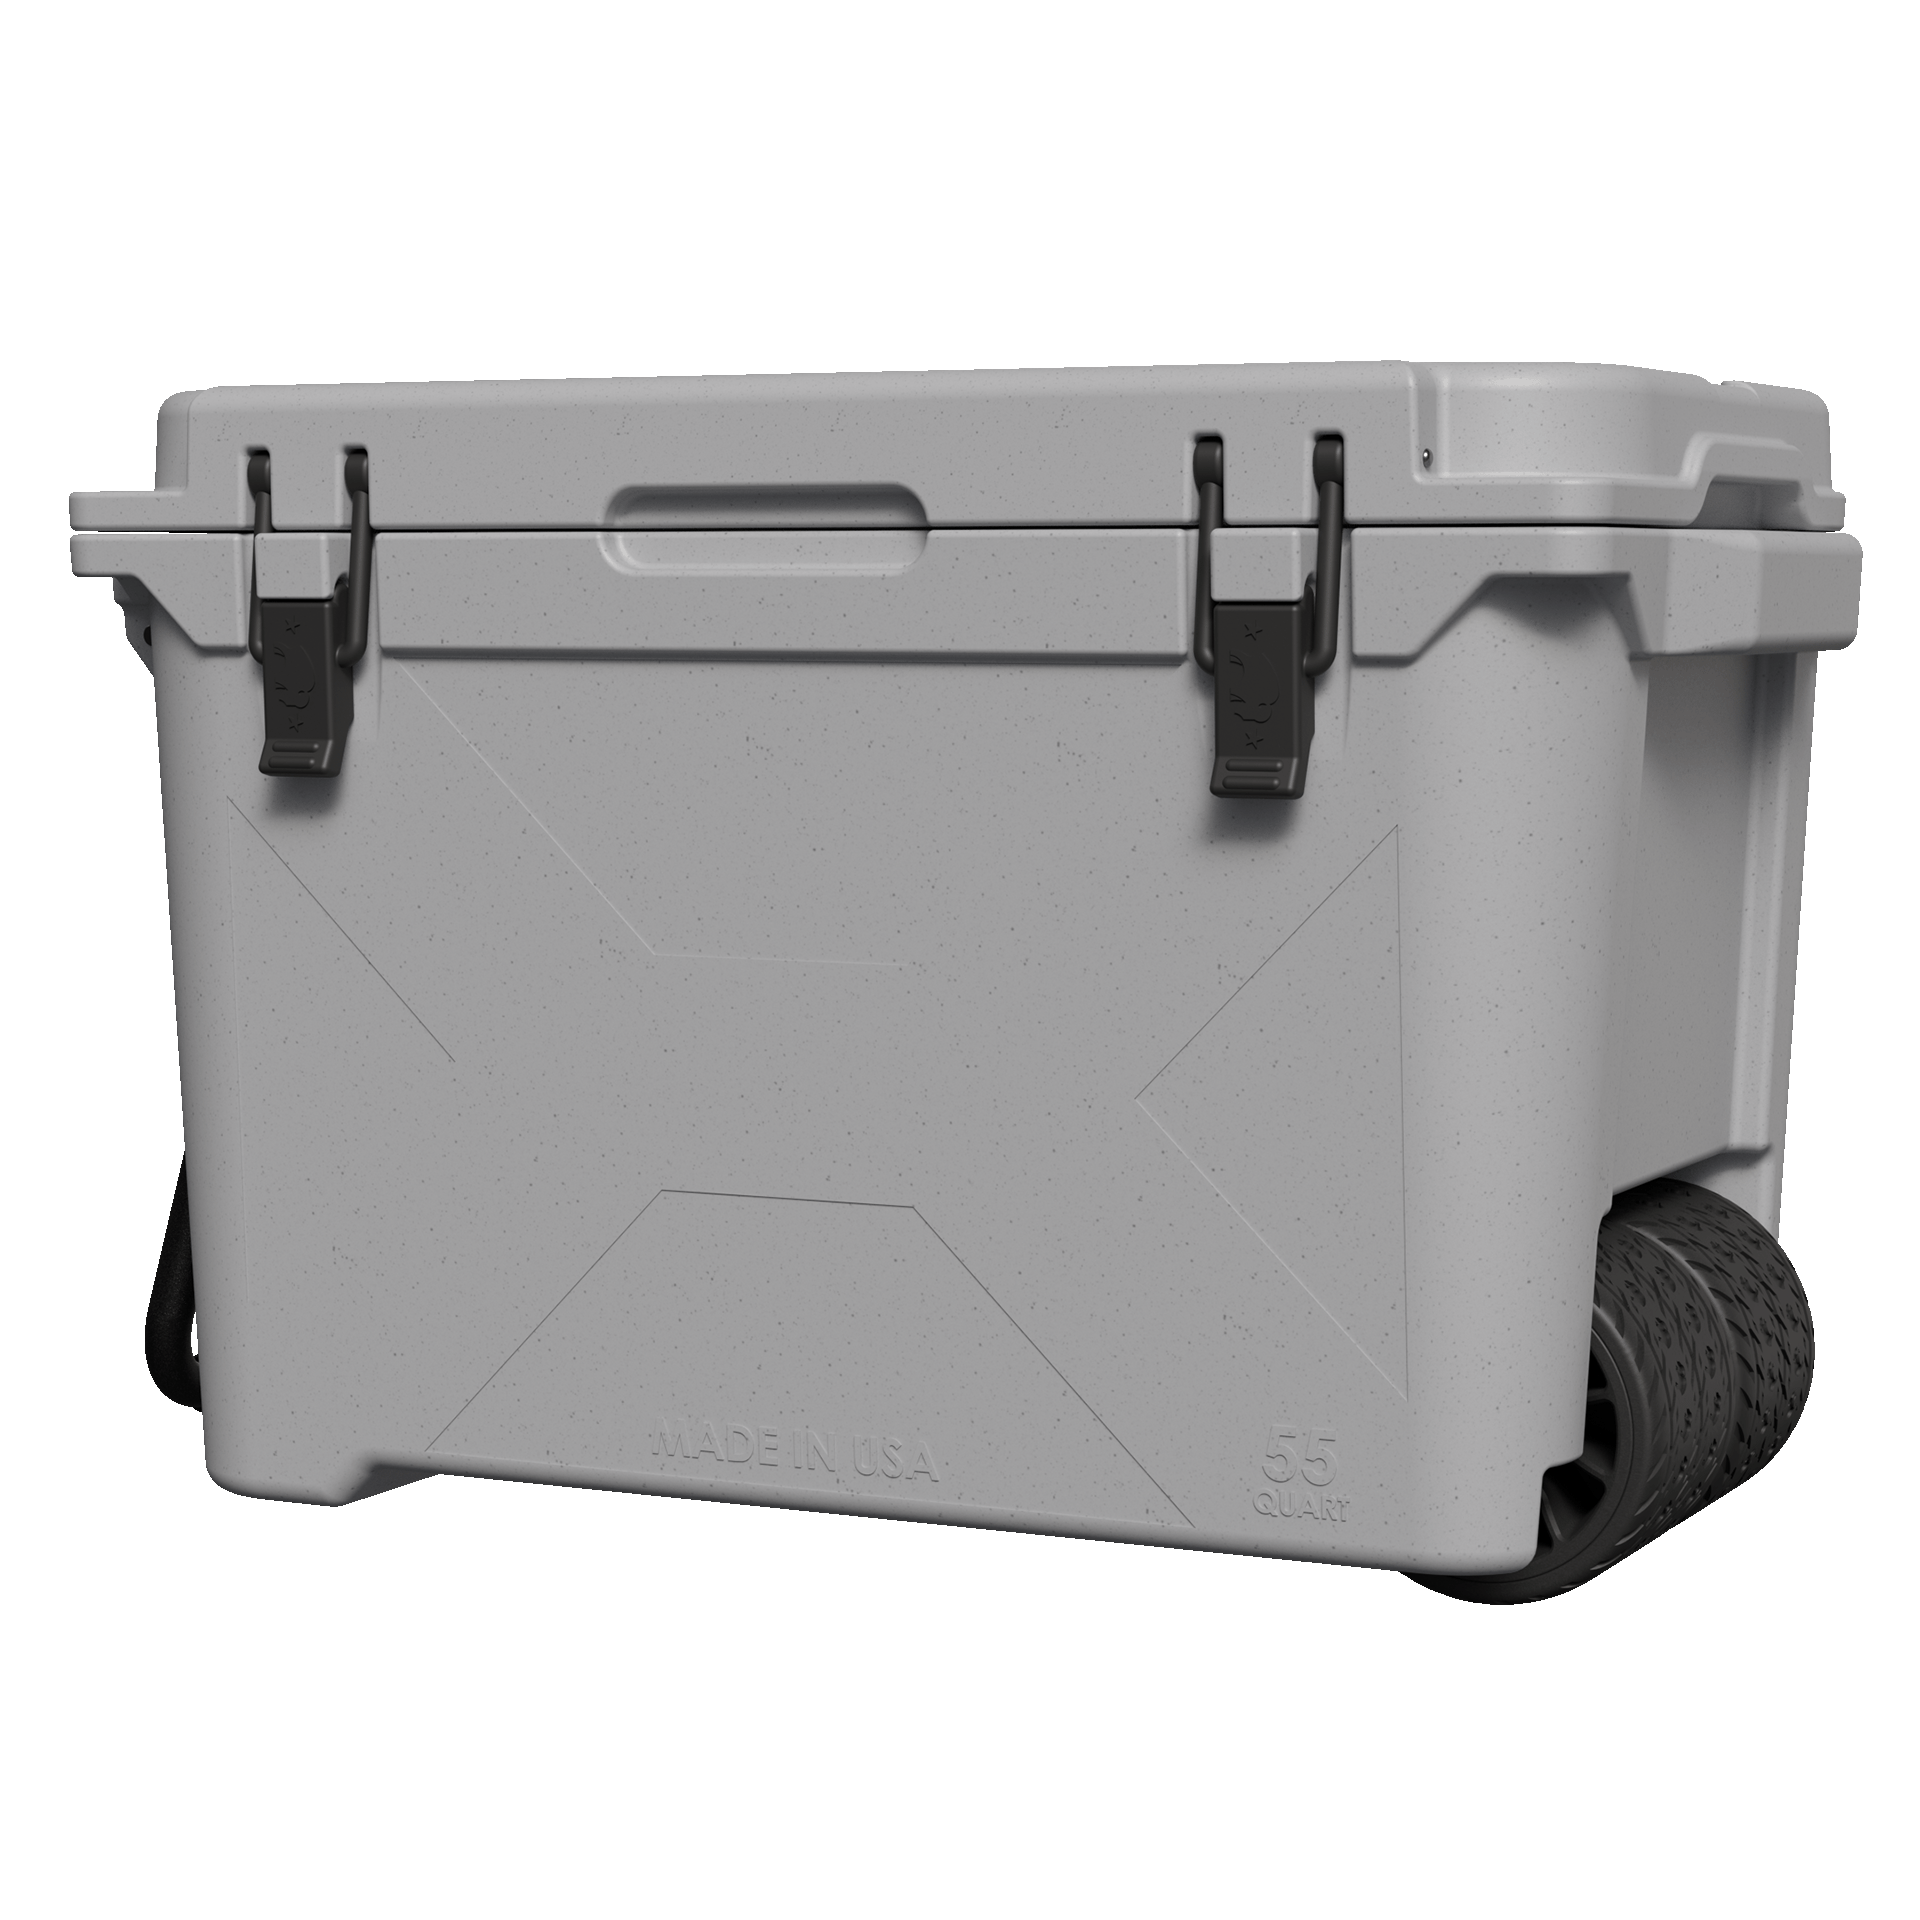
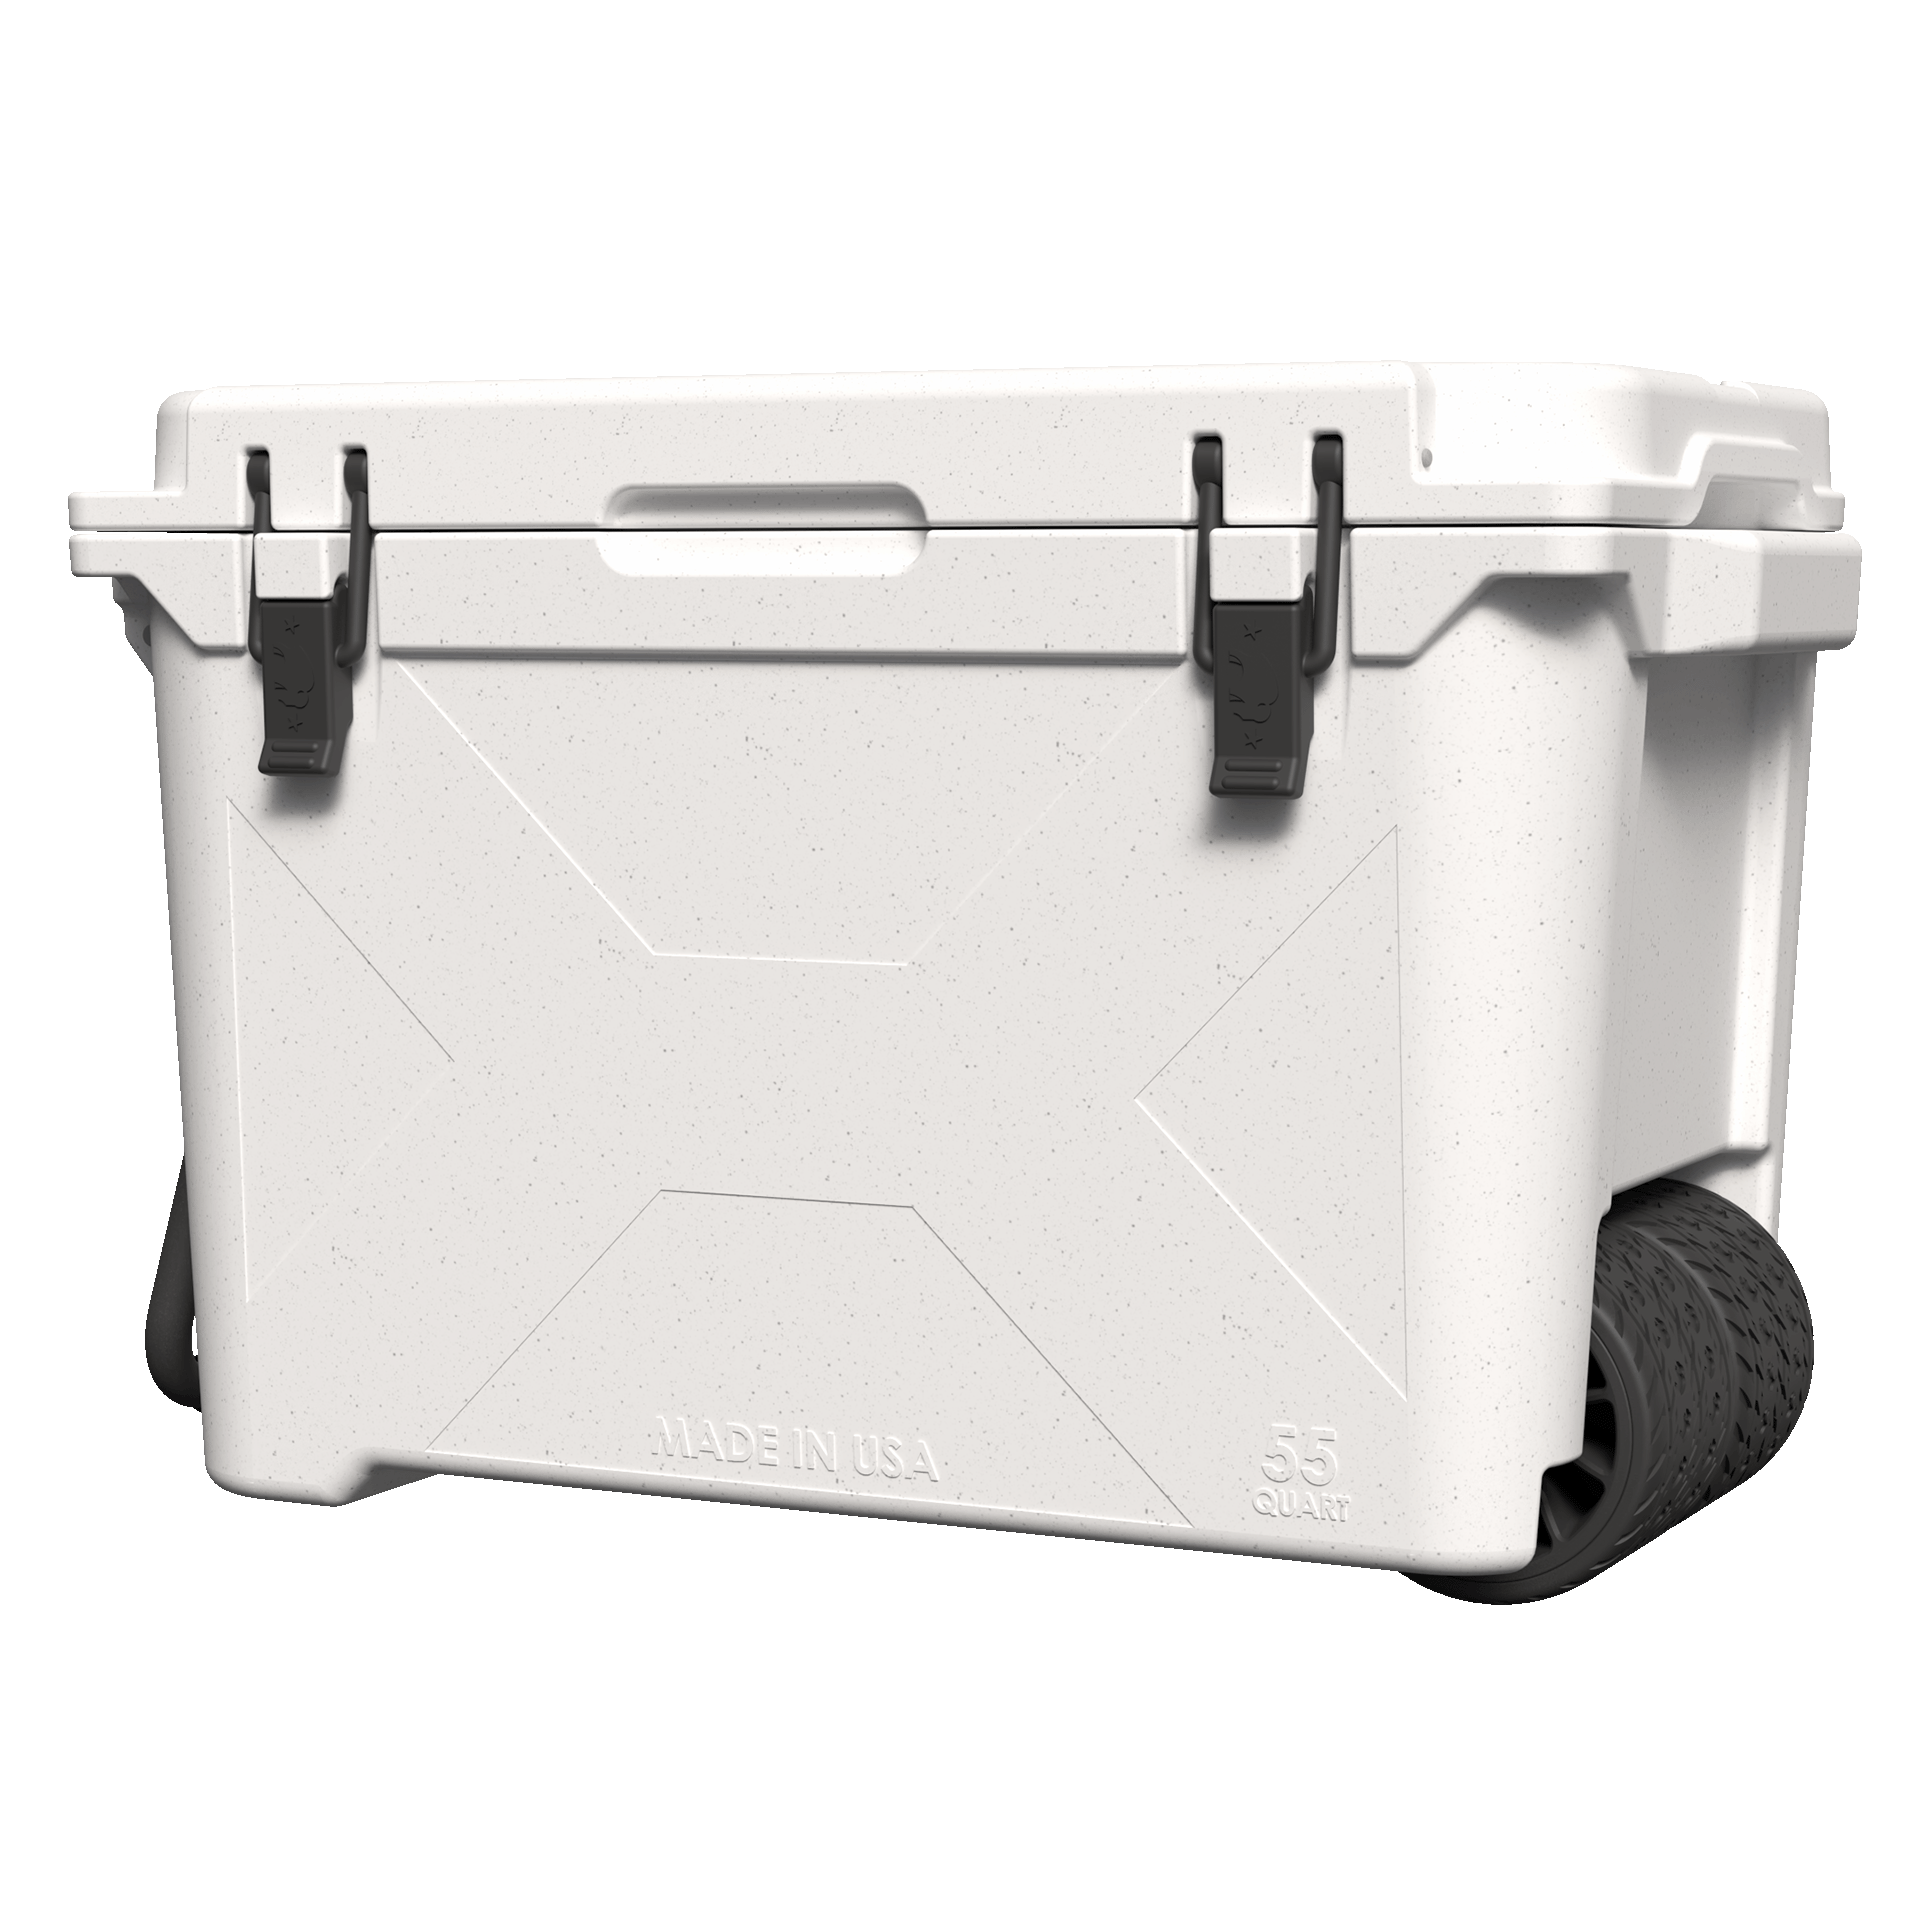
Rotomolded coolers, like those from Bison Coolers, are known for their durability and superior ice retention. Thanks to their rotomolding construction process, these coolers offer excellent insulation, making them perfect for outdoor adventures where keeping items cold is crucial.
Step-by-Step Guide to Prepping Your Rotomolded Cooler
Step 1: Clean Your Cooler Thoroughly
Before each use, give your Bison Cooler a thorough cleaning to ensure it's ready for action. Here's how to do it:
-
Empty and Rinse: Start by emptying any leftover contents. Rinse the interior and exterior with clean water to remove debris. A clean cooler is a happy cooler.
-
Scrub-a-Dub-Dub: Use mild soap or a specialized cooler cleaner. Scrub the surfaces with a sponge, focusing on corners where dirt and odors can hide. Your cooler deserves a fresh start.
-
Rinse Again: After scrubbing, rinse thoroughly to remove all soap residue. Ensure the water runs clear, just like your conscience.
Step 2: Dry Your Cooler Completely
Drying your cooler is key to preventing mold and unpleasant odors.
-
Air Dry: Prop the lid open and let your cooler air dry completely. It's like giving it a spa day in the fresh air.
-
Towel Off: If you're in a hurry, use a clean towel to dry the cooler. Speed is essential, especially when adventure awaits.
Step 3: Pre-chill Your Rotomolded Cooler
Pre-chilling your cooler enhances its cooling power. This step is optional but highly recommended for optimal performance.
-
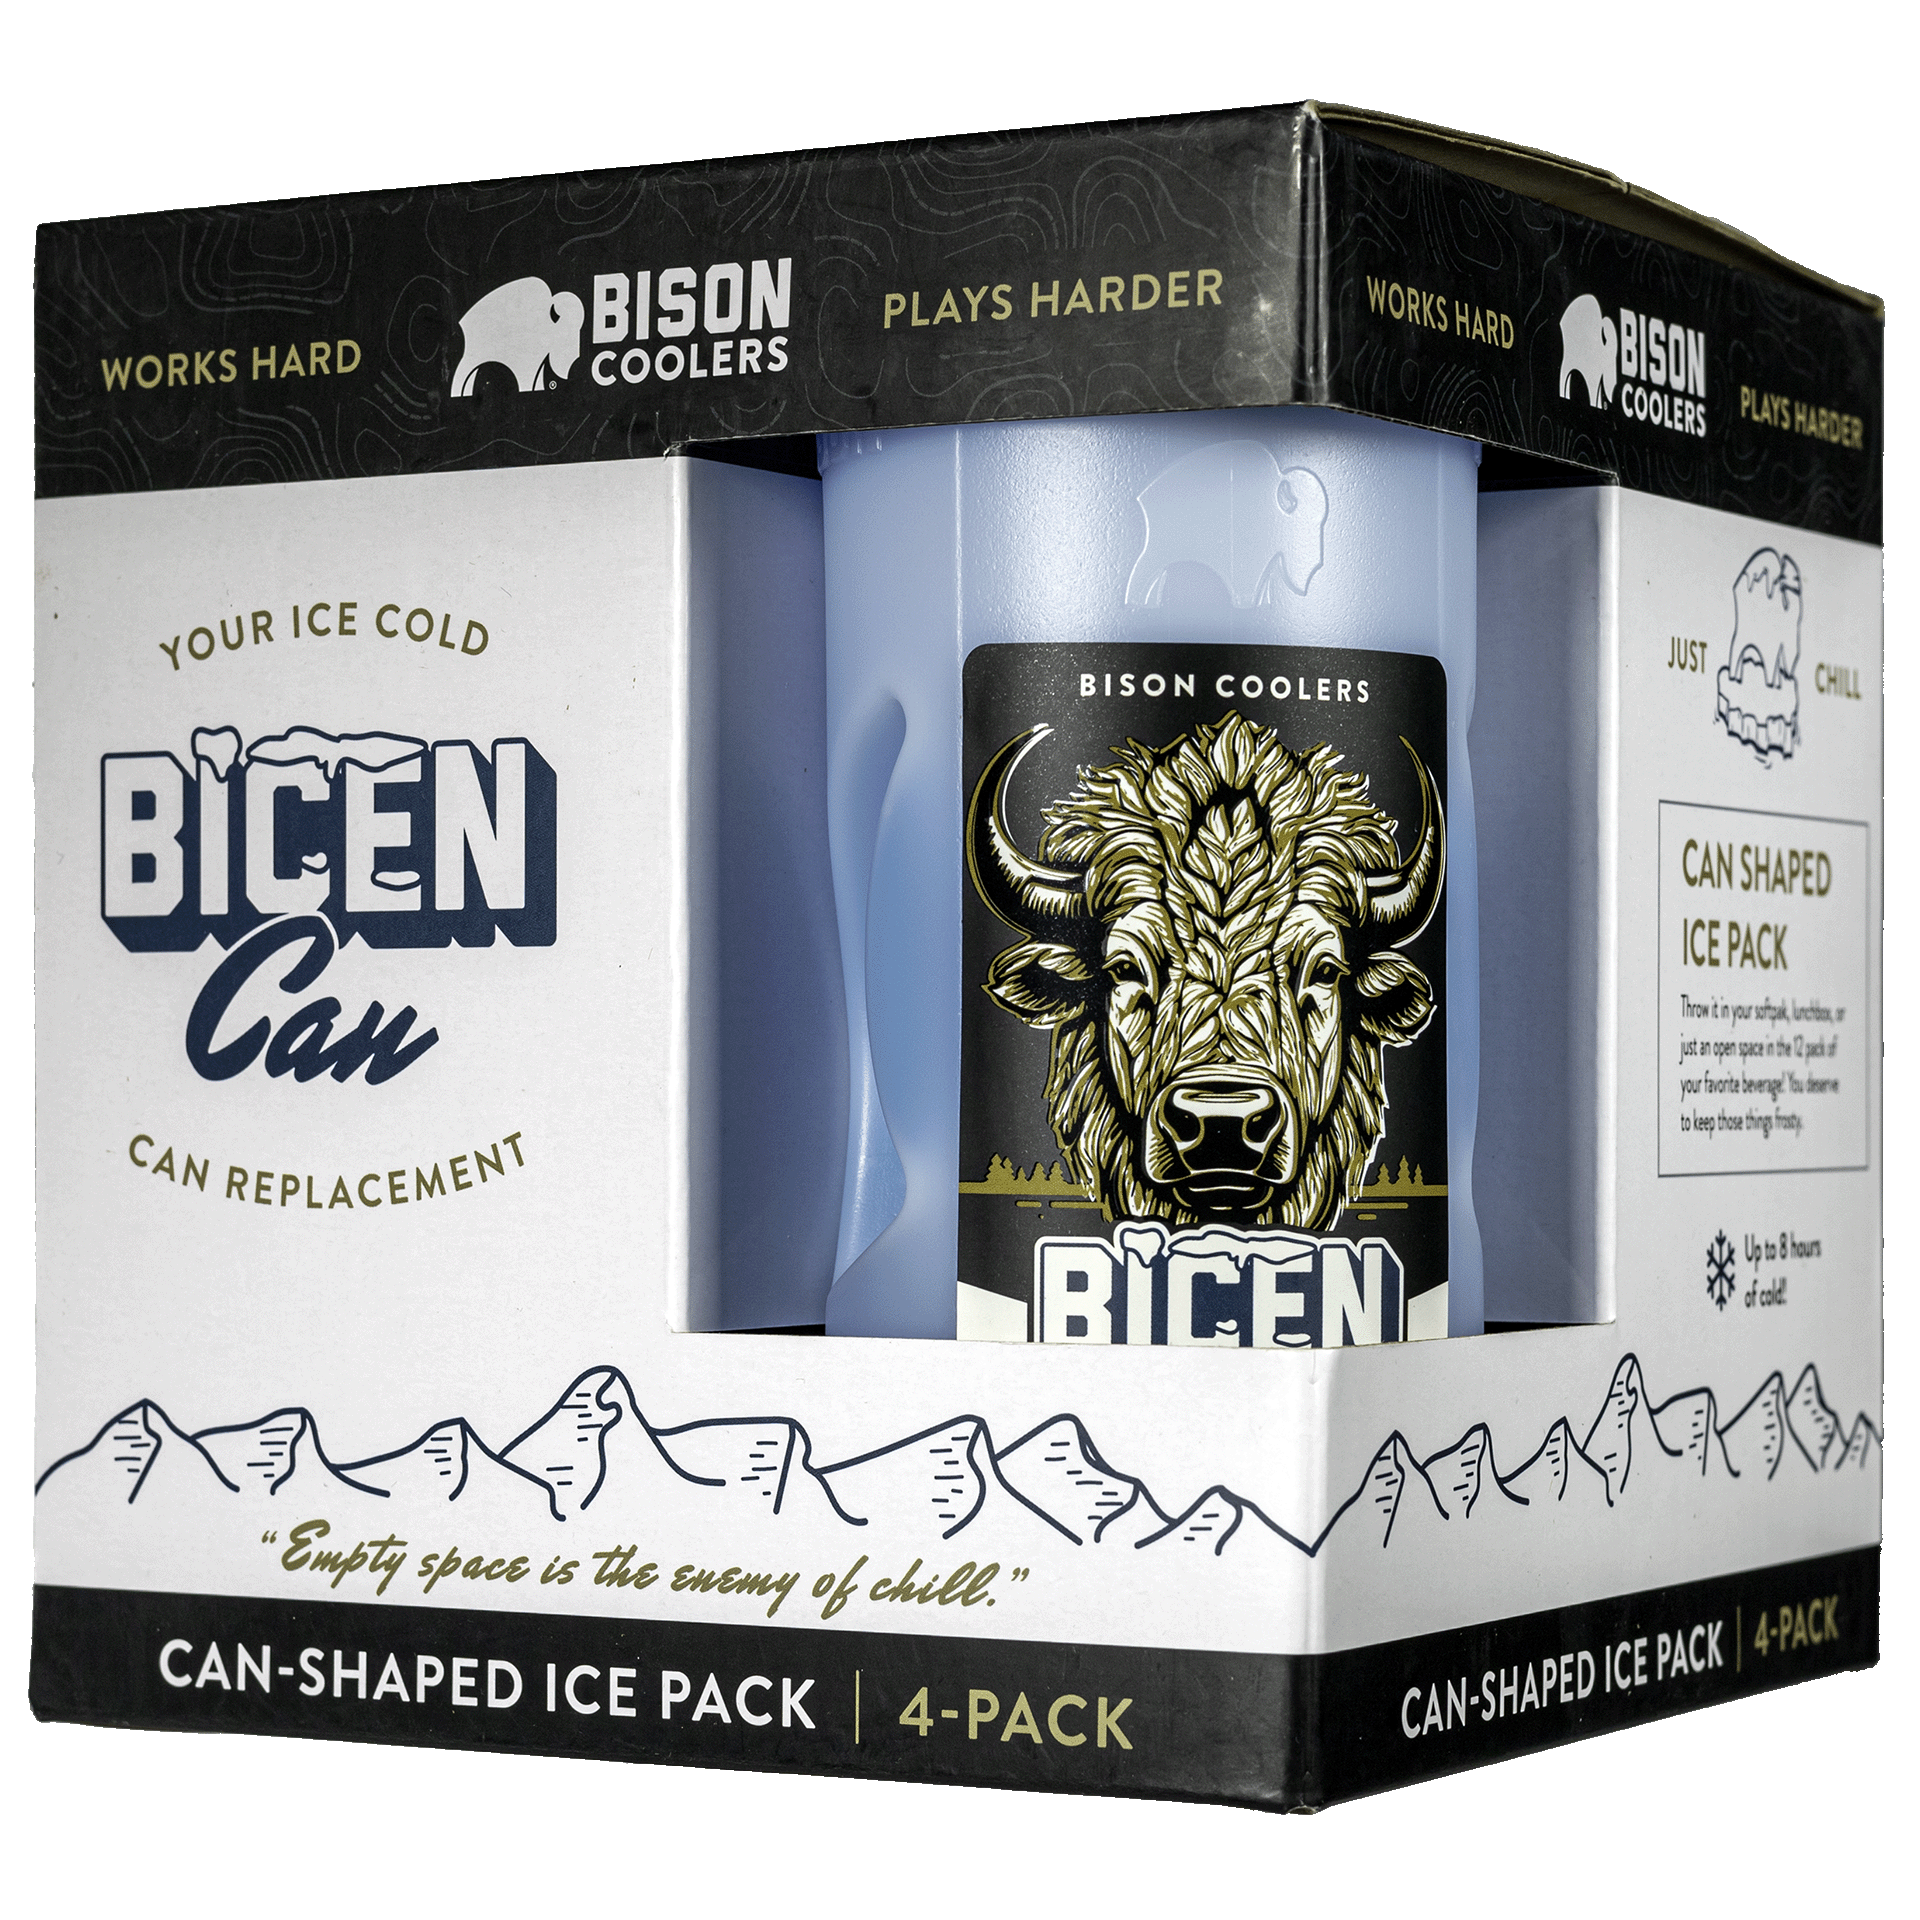
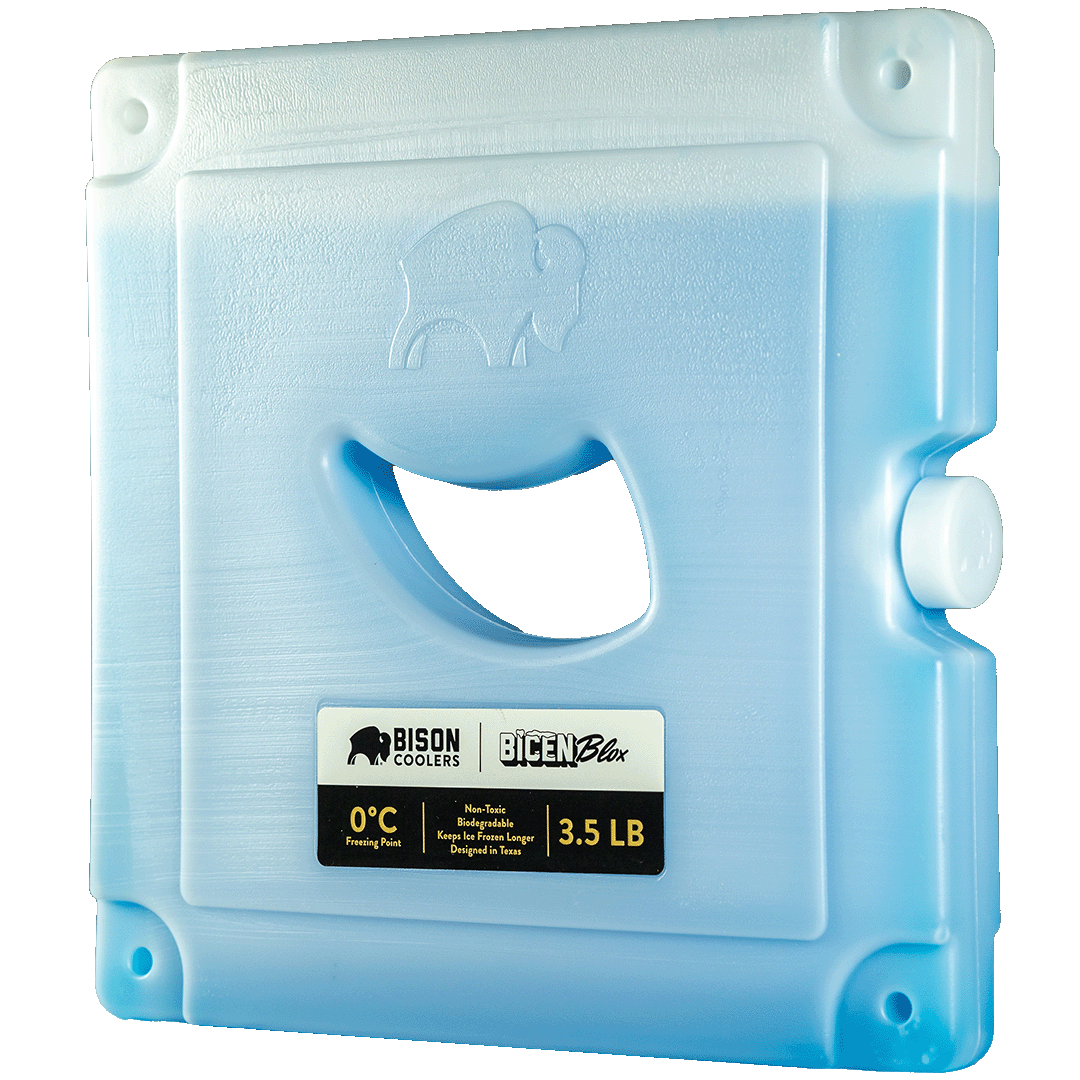
Add Ice: Place a sacrificial bag of ice or ice packs inside the cooler. Close the lid and let it chill out for a few hours or overnight. Think of it as a cool-down session before the big event.
-
Drain and Dry: After pre-chilling, drain any water and dry the interior again if needed. Your cooler is now primed for action.
Step 4: Pack Your Cooler Efficiently
Proper packing is crucial for maintaining cold temperatures and maximizing ice retention.
-
Layer Ice and Contents: Start with a base layer of ice packs or blocks. Add your drinks and snacks, ensuring they're tightly packed to minimize air gaps. This is cooler Tetris at its finest.
-
Top Off with Ice: Add a final layer of ice on top of your items. Fill any remaining space with crumpled newspaper or towels to reduce air circulation. Every nook and cranny counts.
-
Close Securely: Ensure the lid is tightly sealed. A well-sealed cooler keeps the cold air in and the warm air out.
Step 5: Maintain Your Cooler During Use
Keep your cooler performing at its best throughout your outing.
-
Limit Openings: Minimize opening the lid unnecessarily to retain cold air inside. Think of it as a treasure chest—only open it when you must.
-
Keep in Shade: Place the cooler in a shaded area whenever possible to reduce exposure to direct sunlight. Your cooler isn’t a sunbather, so keep it cool.
-
Add Ice as Needed: If ice starts to melt, replenish it to maintain optimal temperatures. A watched cooler never melts, or something like that.
Step 6: Clean and Store After Use
Proper post-use care extends the life of your cooler and ensures it's ready for your next adventure.
-
Empty and Clean: After your outing, empty any remaining contents and give the cooler a thorough cleaning. Don’t leave those crumbs behind!
-
Dry Thoroughly: Allow the cooler to air dry completely before storing. Mold is not invited to this party.
-
Store with Lid Open: Store the cooler with the lid open to allow air circulation. This helps prevent any lingering odors and keeps your cooler fresh.
Conclusion
By following these steps, you can ensure your Bison Cooler is always ready to keep your food and drinks ice-cold during all your outdoor adventures. Proper preparation and care not only enhance performance but also extend the lifespan of your rotomolded cooler. Happy chilling!